Choosing the right hair dye shade
Choosing the right hair dye shade is an important decision when it comes to changing your hair color. Whether you’re looking to cover gray hair, enhance your natural color, or experiment with a completely new look, finding the perfect shade is key to achieving your desired result. With so many options available in the market, it can be overwhelming to decide which shade will suit you best.
Firstly, consider your skin tone. The right hair dye shade should complement your complexion and enhance your features. If you have warm undertones, such as golden or olive skin, shades with warm undertones like caramel, copper, or honey blonde would be a great choice. On the other hand, if you have cool undertones like pink or blue, cooler shades like ash brown or platinum blonde would suit you better.
Additionally, take into account your natural hair color. If you have dark hair, going for a lighter shade may require bleaching or pre-lightening, which can cause damage to your hair. It’s important to choose a shade that is within a few shades of your current color to minimize the risk of damage. If you’re unsure, consulting with a professional hairstylist can help you make an informed decision.
- Consider your skin tone
- Take into account your natural hair color
- Consult with a professional hairstylist
| Skin Tone | Suggested Hair Dye Shades |
|---|---|
| Warm (Golden, Olive) | Caramel, Copper, Honey Blonde |
| Cool (Pink, Blue) | Ash Brown, Platinum Blonde |
Preparing your hair for dye application
When it comes to dyeing your hair, it’s important to properly prepare your hair to achieve the best results. Preparing your hair for dye application not only helps the color to adhere better but also minimizes damage and ensures long-lasting color. Here are some essential steps to follow before applying hair dye:
1. Clarify your hair: Start by using a clarifying shampoo to remove any buildup from styling products, oils, and dirt. This will create a clean canvas for the dye to penetrate evenly.
2. Deep condition: Before dyeing your hair, it’s crucial to restore moisture and strengthen your strands. Apply a deep conditioning treatment or hair mask to nourish and hydrate your hair. This will minimize damage caused by the dyeing process.
3. Do a strand test: It’s always a good idea to do a strand test before applying hair dye. This will help you determine how the color will turn out on your hair and how long you should leave the dye on for the desired results. Simply take a small section of hair and apply the dye according to the instructions.
4. Protect your skin and clothing: Hair dye can be messy, so it’s important to protect your skin and clothing from staining. Apply petroleum jelly or a barrier cream along the hairline and ears to prevent dye from staining your skin. Wear an old shirt or use a hair dye cape to protect your clothes.
5. Gather the necessary tools: Before applying hair dye, make sure you have all the necessary tools at hand. This includes a mixing bowl, dye brush or applicator, clips to section your hair, gloves to protect your hands, and a timer to track the processing time.
By following these steps, you can ensure that your hair is well-prepared for dye application, resulting in a vibrant and long-lasting color. Taking the time to properly prepare your hair will also minimize damage and promote healthier, more manageable locks. Remember, preparation is key when it comes to achieving salon-worthy results at home.
Applying the hair dye evenly
When it comes to coloring your hair, one of the most important steps is applying the hair dye evenly. Achieving an even distribution of color ensures a professional and polished look. Whether you are dyeing your hair at home or at a salon, following a few simple steps can help you achieve this desired result.
The first step in applying hair dye evenly is to section your hair. This helps in ensuring that every strand of hair is coated with the dye. Start by parting your hair in the middle and then dividing it into four equal sections – two in the front and two in the back. Secure each section with hair clips or hair ties. This method allows you to work on one section at a time, making it easier to evenly distribute the dye.
Next, it is important to follow the instructions provided with the hair dye. Different hair dyes have different application processes, so be sure to read and understand the instructions before starting. Some dyes may require you to mix two solutions together, while others may already come premixed. Follow the instructions carefully to ensure the desired outcome.
- Wearing gloves is essential to protect your hands from staining. Put on gloves before starting the application process.
- Using a tinting brush or applicator bottle, start applying the hair dye from the roots and work your way down to the ends. Make sure to saturate each strand of hair with the dye.
- For better coverage, comb the dye through your hair using a wide-toothed comb. This will help distribute the color evenly and prevent any patchy sections.
- Once you have applied the dye to one section, move on to the next section until all sections are covered.
After you have applied the hair dye evenly, it is important to let it process according to the instructions provided. This is typically anywhere from 20 to 40 minutes, depending on the dye and the desired outcome. During this time, avoid touching or manipulating your hair to ensure an even application and color development.
Once the processing time is complete, rinse your hair with lukewarm water until the water runs clear. Apply a color-safe conditioner to help lock in the color and leave it on for a few minutes before rinsing. This will help keep your hair hydrated and maintain the vibrancy of the dye.
Now that you have successfully applied the hair dye evenly, you can enjoy your new hair color! Remember to take proper care of your colored hair by using color-safe shampoos and conditioners, avoiding excessive heat styling, and protecting it from the sun. With these tips, you can confidently achieve a beautiful and even hair dye application.
Handling hair dye stains and protection
Handling Hair Dye Stains and Protection
When it comes to coloring our hair at home, accidents can happen. That’s why it’s important to know how to handle hair dye stains and protect ourselves from any potential harm. Whether you’re a seasoned DIY hair colorist or trying it out for the first time, these tips will help you navigate any mishaps and keep your skin and surfaces dye-free.
First and foremost, prevention is key. Before you start applying the hair dye, it’s essential to protect your skin from staining. Apply a thin layer of petroleum jelly or a barrier cream along your hairline, ears, and neck. These areas are most susceptible to dye stains, and the barrier cream will create a protective shield, preventing the dye from penetrating the skin. Additionally, wearing an old shirt or using a hair coloring cape can protect your clothing from accidental spills or drips.
In the event that you do get some hair dye on your skin, acting quickly is essential to prevent staining. Wash the affected area right away with soap and water, gently scrubbing to remove the dye. Avoid using hot water, as it can further set the dye into the skin. If the dye has already dried, you can try using a gentle exfoliating scrub or rubbing alcohol to help lift the stain. Remember to be gentle with your skin to avoid any irritation.
When it comes to protecting your surfaces, preparation is key. Start by covering your bathroom countertop or any other area you’ll be using with old towels or newspapers. This will catch any drips or spills and make for easier cleanup. If you accidentally get hair dye on a non-porous surface, such as tile or laminate, wiping it off with a damp cloth should do the trick. However, if the dye has seeped into a porous surface like grout or wooden furniture, it may be more challenging to remove. In such cases, using a mixture of baking soda and water can help lift the stain.
- Protect your skin by applying a barrier cream before dyeing your hair.
- Wear old clothing or use a hair coloring cape to prevent staining your clothes.
- Act quickly if you get dye on your skin, washing the affected area with soap and water.
| Surface | Removal Method |
|---|---|
| Non-porous (tile, laminate) | Wipe with a damp cloth |
| Porous (grout, wood) | Make a paste with baking soda and water, then gently scrub |
By taking the necessary precautions and knowing how to handle hair dye stains, you can enjoy the process of coloring your hair without the worry of potential mishaps. Remember to protect your skin, clothing, and surrounding surfaces, and if any accidents do occur, act quickly and gently to remove the dye. With these tips in mind, you can confidently embark on your DIY hair color journey!
Timing the hair dye process
Timing the hair dye process is an essential step in achieving the desired hair color. Whether you’re dyeing your hair for the first time or touching up your roots, knowing how long to leave the dye on is crucial for optimal results. In this blog post, we will discuss the importance of timing, factors that affect processing time, and tips for effectively timing the hair dye process.
The Importance of Timing
Timing plays a significant role in the hair dye process as it determines the intensity and longevity of the color. Leaving the dye on for too long can result in an overly vibrant hue or hair damage, while not leaving it on long enough may lead to uneven or faded color. Therefore, finding the right timing is crucial for achieving the desired shade and maintaining the health of your hair.
Factors Affecting Processing Time
Several factors can influence how long you should keep the hair dye on. The first factor is the type of dye you’re using. Permanent dyes generally require longer processing times compared to semi-permanent or demi-permanent options. Secondly, the natural color and texture of your hair can affect processing time. Darker or coarser hair may require more time for the color to develop, while lighter or finer hair may take less time. Lastly, following the instructions provided by the dye manufacturer is crucial as they often tailor their products for specific processing times.
Effective timing tips
To ensure optimal results, consider the following tips for timing the hair dye process:
- Always read and follow the instructions provided with the hair dye product. This includes information on processing time, application techniques, and any additional steps.
- Conduct a strand test before applying the dye to your entire head. This will help you determine how your hair responds to the dye and the appropriate processing time.
- Set a timer to accurately track the processing time. This will prevent you from leaving the dye on for too long or rinsing it off prematurely.
- Consider adding heat to speed up the process. Some dyes may recommend using a hairdryer or wrapping your head with a shower cap to generate heat and enhance color development.
- Regularly check the color development during the processing time. If the color appears satisfactory before the recommended time, you can proceed with rinsing to avoid excessive processing.
In conclusion, timing plays a crucial role in achieving the desired hair color when dyeing your hair. Understanding the importance of timing, the factors that can affect processing time, and following effective timing tips will help you achieve the best results. Remember to prioritize the health of your hair and follow the instructions provided by the dye manufacturer for a successful and satisfying dye process.
Rinsing and conditioning your dyed hair
Rinsing and conditioning your dyed hair is an essential step in maintaining the vibrancy and health of your colored locks. After successfully dyeing your hair and achieving the desired shade, it is crucial to follow proper rinsing and conditioning techniques to ensure long-lasting color and prevent damage. Let’s explore some tips and tricks to help you effectively rinse and condition your dyed hair.
1. Use lukewarm water: When rinsing your dyed hair, make sure to use lukewarm water instead of hot water. Hot water can strip away the color and dry out your hair, leading to faded and dull results. Lukewarm water helps retain the color for a longer time while still providing effective cleansing.
2. Rinse until the water runs clear: After applying hair dye, there may be excess color and product residue left in your hair. It is important to rinse your hair thoroughly until the water runs clear. This ensures that all the dye and chemicals are completely removed from your hair, reducing the risk of staining and color bleeding.
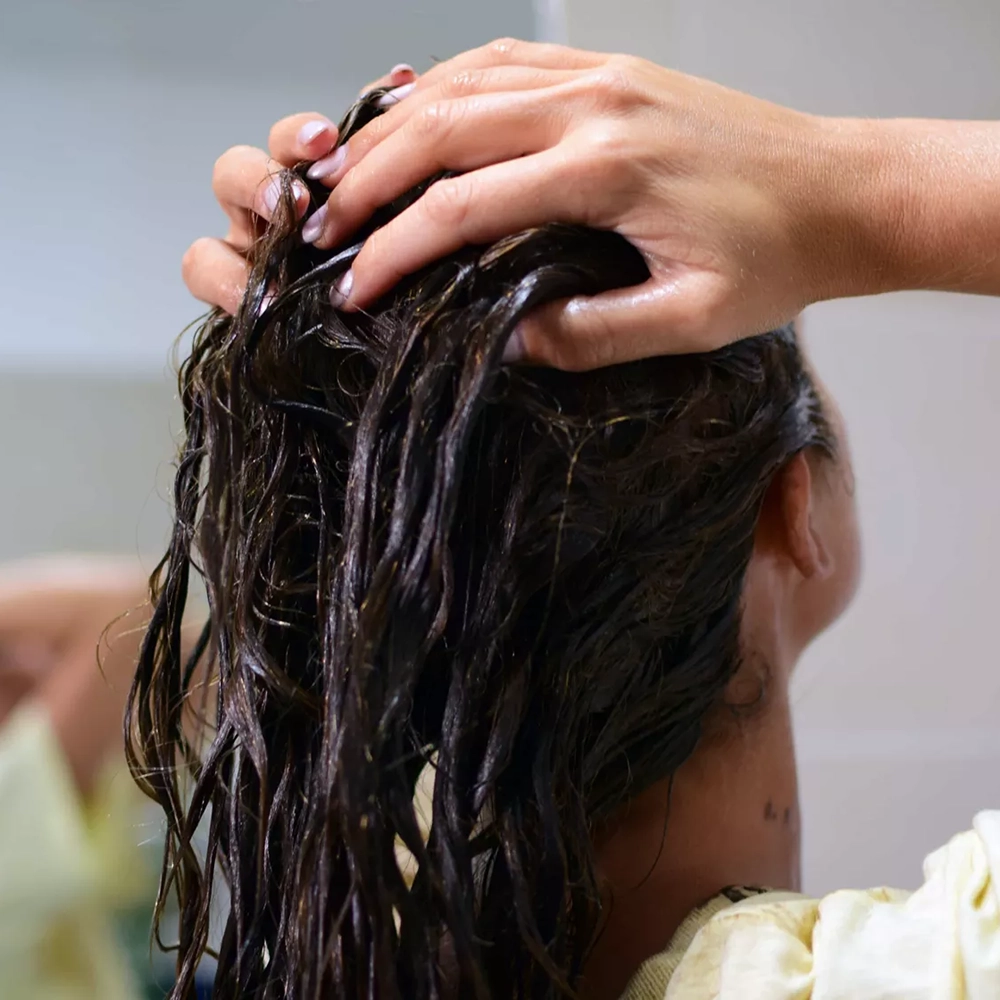
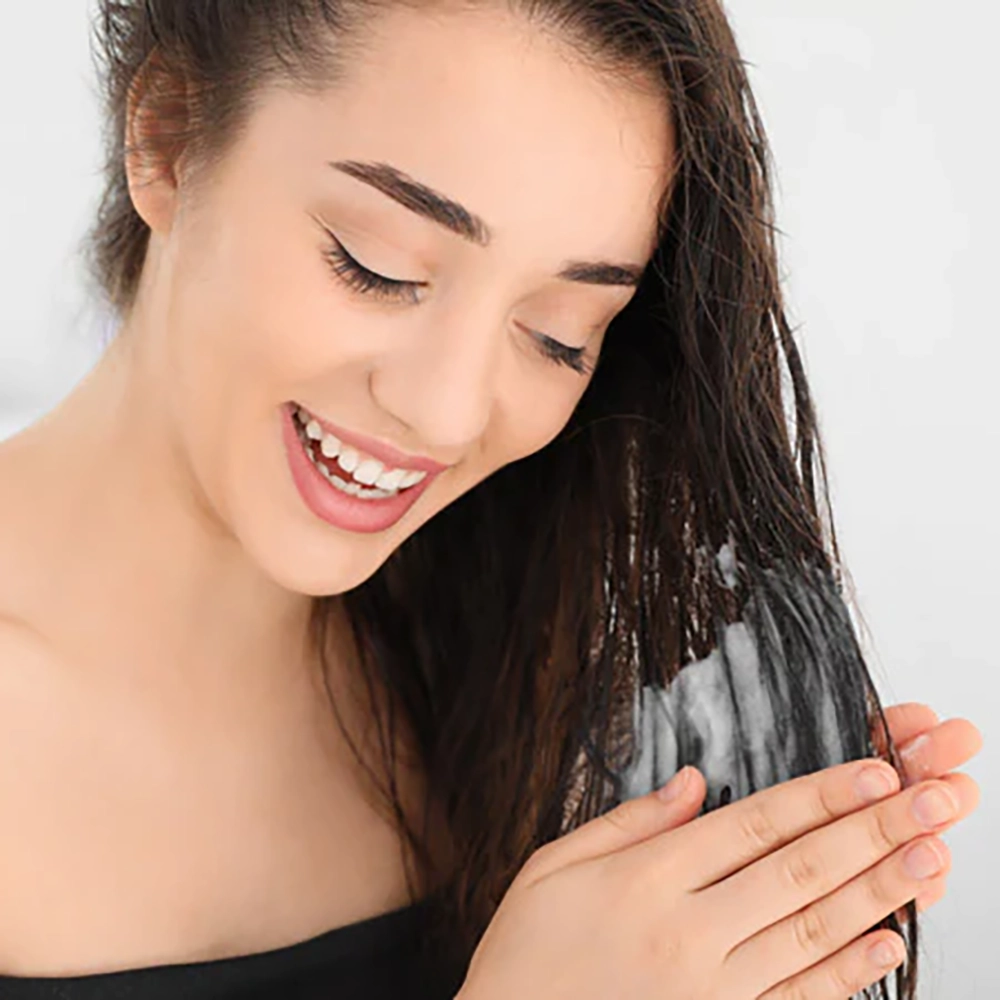
3. Apply color-safe conditioner: Once your hair is rinsed, it’s time to condition! Choose a conditioner specifically formulated for colored hair to provide extra nourishment and protection. Apply the conditioner from mid-length to the ends, gently massaging it into your hair. Avoid applying conditioner directly to the roots, as it can make your hair appear greasy.
4. Let the conditioner sit: For the best results, let the conditioner sit on your hair for a few minutes before rinsing it out. This allows the nourishing ingredients to penetrate the hair shaft, leaving your dyed hair soft, smooth, and manageable. Use this time to exfoliate your skin or complete your shower routine.
5. Rinse with cool water: When it’s time to rinse out the conditioner, use cool water instead of hot water. Cool water helps seal the hair cuticles, locking in moisture and color. It also gives your hair a shiny and glossy appearance. Although the cool water may be a bit chilly, the benefits to your dyed hair are worth it.
6. Limit washing and use color-safe products: To maintain the longevity of your hair color, it’s advisable to extend the time between washes. Washing your hair too frequently can cause the color to fade quickly. When washing, opt for color-safe shampoos and conditioners that are free of sulfates and harsh chemicals.
By following these rinsing and conditioning techniques, you can ensure that your dyed hair remains vibrant, healthy, and full of life. Remember to use lukewarm water, rinse until the water runs clear, apply color-safe conditioner, let it sit, rinse with cool water, and limit washing with color-safe products. With proper care, your gorgeously dyed locks will be the envy of many!
Maintaining your hair color at home
Maintaining your hair color at home is essential to keep your hair looking vibrant and fresh. Whether you have recently dyed your hair or are looking to extend the life of your current hair color, there are several steps you can take to ensure that your color stays true and your hair remains healthy. By following these tips, you can prolong the lifespan of your hair color and keep your locks looking their best.
First and foremost, it is important to use hair products specifically formulated for color-treated hair. Regular shampoos and conditioners can strip away the color and cause it to fade more quickly. Look for products that are labeled as “color-safe” or “for color-treated hair.” These products are designed to be gentle on the hair while preserving the vibrancy of your color.
In addition to using the right products, it is also important to protect your hair from external factors that can cause color fading. When exposing your hair to the sun, chlorine, or saltwater, it is best to wear a hat or use a leave-in conditioner with UV protection. This will help shield your hair from harmful rays and prevent your color from becoming dull and brassy.
Another key aspect of maintaining your hair color at home is minimizing heat styling. Heat can strip away the color and leave your hair looking lackluster. If you must use heat tools, such as a straightener or curling iron, be sure to apply a heat protectant spray beforehand. This will create a barrier between your hair and the heat, helping to preserve both your color and the overall health of your hair.
Regular touch-ups are also important for maintaining your hair color. Depending on the type of dye you use, you may need to touch up your roots every 4-6 weeks. This will help ensure a consistent and even color throughout your hair. If you are unsure about how to properly touch up your roots at home, it is best to consult a professional hairdresser for guidance.
Lastly, incorporating a deep conditioning treatment into your hair care routine can work wonders for maintaining your hair color. These treatments replenish moisture and nutrients in the hair, preventing it from becoming dry and dull. Look for deep conditioning masks or treatments specifically formulated for color-treated hair and use them regularly to keep your locks looking healthy and vibrant.
In conclusion, maintaining your hair color at home requires some effort, but it is well worth it to keep your hair looking its best. By using the right products, protecting your hair from external factors, minimizing heat styling, performing regular touch-ups, and incorporating deep conditioning treatments, you can extend the life of your hair color and keep your locks looking vibrant and beautiful.


